(Note: this page is currently under development and may be incomplete.)
This blog entry will lean heavy on various links which together have well documented these initial steps in the process. There is no reason to recreate the wheel for this part so I'll be linking to all of the best materials already online. I would encourage you to go old school and create a 3-ring binder for this project.
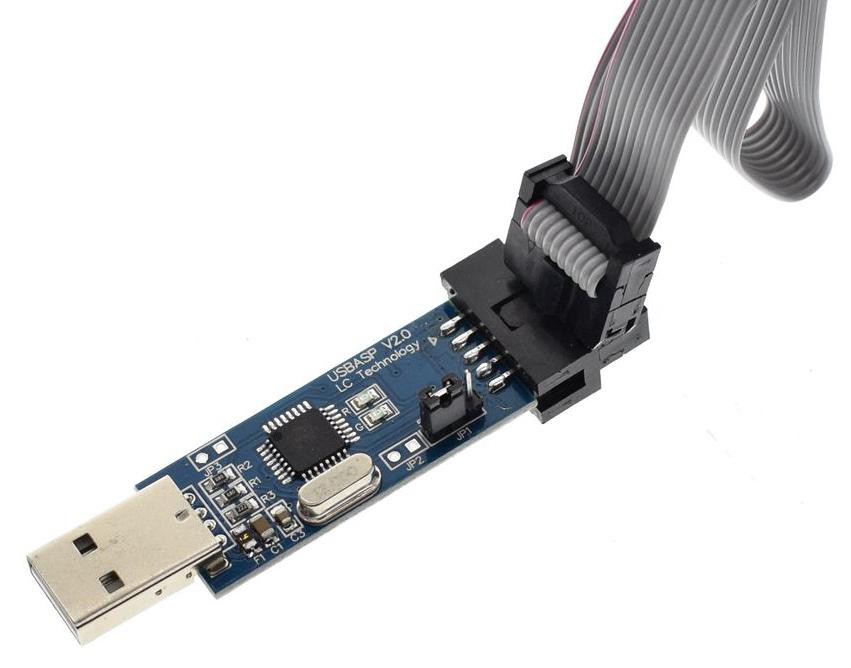
Remember that "10 Pin Convert to Standard 6 Pin Adapter Board+USBASP USBISP AVR Programmer USB." I mentioned that you would want to obtain in chapter 3? It's time to use it to program the ATMEL32 microcontroller.
The ATMEL32 microcontroller acts as both EEPROM and I/O emulator. It will need to be programmed with a bootloader before the Sketch can be applied.
https://hackaday.io/project/159973-z80-mbc2-a-4-ics-homebrew-z80-computer/log/150087-how-use-the-icsp-port-with-the-usbasp-programmer-under-linux-to-burn-the-bootloader
Preparing the ATMEL32 is a two step process. First you'll install the bootloader (using the ICSP connection), then install the sketch (using the serial to TTL connection) that makes everything work. Using the information in the link. I jumpered wires from the USB programmer to the ICSP pins on the Z80-MCB2. The instructions are written for Linux users, but are 99% applicable to Windows users as well. Make sure that the SD and RTC adapter are unplugged while using the ICSP pins.
You will need the Arduino IDE (I used the legacy version 1.18.9) and The sketch for the IOS (with the needed libraries). Unzip into a folder and open the .ino file (with Arduino IDE). IOS must be uploaded into the Atmega32A flash.
I would also encourage you to add the following information to your binder.
Once you've install the bootloader and sketch to the Z80-MBC, you can power up the Z80-MBC2 without the SD and RTC adapter using the serial to TTL adapter.
The following connections between the adapter and the Z80-MBC2 are:
- Adapter 5v to Z80-MBC2 VCC
- Adapter GND to Z80-MBC2 GND
- Adapter RX to Z80-MBC2 RX
- Adapter TX to Z80-MBC2 TX
Download Putty (Linux & Windows versions available.) Putty will act as your terminal to the Z80-MBC2 until we replace it with a dedicated terminal. Set the serial line to match the serial port your serial to TTL device is installed to (Example: Windows COM1, COM2, COM3, etc - Linux /dev/ttyACM1, /dev/ttyUSB0) and the baud rate to 115200. Hit the Open button in Putty, then press the RESET switch on the MBC2. You should see a screen that looks something like this:

At this point we aren't worried about the specifics, just the fact that we have understandable text demonstrates that things are starting to work and communication is happening.
If you get nothing at all, double check the connections between the serial to TTL adapter and the MBC2, your COM port and baud rate settings. You can troubleshoot the connectivity on the Putty side by unplugging the RX and TX pins from the Z80-MBC2 and jumper them together with a piece of wire. This will create a "Loopback Test" in which anything you type into Putty will be echoed back to the terminal. Once you see that is working, reconnect RX and TX to the Z80-MBC2 and double check all of your solder connections, making sure each chip is seated properly without bent pins.
Before plugging in the SD card and RTC adapter. It's important to make a modification to the RTC adapter before using it.
 |
| The SD module (left) and RTC module (right) |
Next to the topside SCL connection, there is a surface mounted resistor that needs to be removed. This resistor can cause a battery meltdown and perhaps even damage. I used the "brute force" method and removed it with my clippers.
 | |
| SD and RTC modules inserted correctly. |
It is possible to plug these cards in the wrong direction. Make sure the battery side of the RTC module faces toward the GPIO pins, and the SD card faces toward it's activity LED. Both cards will insert in the PCB on the right side of their pins.
If you haven't downloaded the disk files for your SD card, now is a good time to do so. Download and extra the file SD-S220718-R240620-v1.zip It contains the content of the microSD needed to run CP/M 2.2, CP/M 3.0, QP/M 2.71, UCSD Pascal and Collapse OS.
You'll also want to download CpmtoolsGUI and this diskdefs file. I've found it easiest to simply copy both files to the SD card with the disk files.
Again, there is some excellent documentation (courtesy: land-boards.com) on CpmtoolsGUI already posted. Their are also listings for the software on the disk images. I'd recommend adding the entire page to your binder.
At this point you should be able to replicate the following video:

Once you install the SD and RTC modules, holding the USER button while pressing reset will present you with the following options:
0: No Change
1: Basic
2: Forth
3: Load OS from Disk Set (Current Setting)
4: Autoboot
5: iLoad
6: Change Z80 Clock speed (-->Option to switch to)
7: Toggle CP/M Autoexec (-->Option to switch to)
8: Change the Disk Set
9: Change the RTC time/data
If you look above in the top section of my screenshot, You see that I have my Z80 clocked at 8Mhz, My CP/M Autoexec is ON, I have the GPIO chip installed, my RTC modules was detected and my room is a rather warm 73f.
There are several disk sets you can choose from option 8. Mine is currently set on CP/M 3.3. I'd start with option 9, and set your time/date. After which a quick jump into option 1, BASIC will allow you to program an obligatory HELLO WORLD program to officially declare your Z80-MBC2 working.
Use option 8, to change your Disk Set. I'd recommend CP/M 3.3.
These are four highly recommended websites at this stage:
Z80-MBC2 Hackaday Project Homepage:
https://hackaday.io/project/159973-z80-mbc2-a-4-ics-homebrew-z80-computer
Just for Fun: Z80-MBC2 Homepage:
Land Boards: Z80-MBC2 Build Notes
http://land-boards.com/blwiki/index.php?title=Z80-MBC2_Build_Notes
Z80-MBC2 Usergroup Facebook Page
https://www.facebook.com/groups/Z80MBC2
No comments:
Post a Comment